
Climate-Controlled Tool Storage Guide
By Priya Desai • 11th Oct
For professional technicians, tool chest humidity control isn't just about preventing rust. It is foundational to workflow consistency. When moisture infiltrates your moisture-proof tool storage system, it disrupts the precise rhythm of your operations. One technician's battle against humidity-induced tool failures in a multi-bay facility transformed throughput without adding personnel, simply by integrating environmental controls into their standardized tool management protocol. This guide reveals how climate considerations must be embedded within your 5S rollout, not treated as an afterthought.
Why Humidity Control Belongs in Your Standard Work
Most shops treat humidity as a reactive problem: "Oh, my calipers seized again (must be humid)." But this heroics-based approach fails when production pressure mounts. Consistency outperforms heroics over any production horizon, especially when moisture silently degrades:
- Precision instruments (micrometers, dial indicators)
- High-carbon steel tools (chisels, punches)
- Cordless tool batteries
- Electronic diagnostic equipment
Moisture damage creates inconsistent tool availability: exactly what 5S systems eliminate in other workflow areas. When technician A's chest requires daily rust wiping while technician B's tools remain pristine, you've created a variable your production system cannot manage. Standard bays beat heroics on any busy Monday (including humidity management).
The Hidden Cost of Uncontrolled Humidity
Unaddressed moisture creates invisible waste that sabotages lean initiatives:
- Time loss: An average of 7 minutes per technician daily cleaning rust or replacing damaged tools (per industry surveys)
- Quality risk: Swollen wooden handles, corroded measuring surfaces, and degraded electrical contacts
- Throughput variability: Unexpected downtime when precision tools fail calibration due to moisture exposure
- Inventory distortion: "Missing" tools that are actually corroded beyond use but never formally written off
These impacts directly contradict psychographic priorities of workflow purists who see tools as production system components. Without tool cabinet storage humidity protocols, your 5S gains erode at the molecular level.
Building Humidity Control into Your 5S Rollout
True standardization requires environmental controls that scale across bays. Here's how to integrate humidity management into your existing visual management system:
Step 1: Establish Baseline Humidity Levels (The "Before")
Conduct a moisture audit before implementation:
- Measure relative humidity at multiple points in each bay (tool chest height, floor level, ceiling)
- Document current tool condition with date-stamped photos
- Track weekly time spent addressing moisture issues

This creates the factual baseline for your improvement story. One diesel repair shop discovered 68% RH in their northeast-facing bay versus 42% in climate-controlled areas, explaining why bay 3 technicians consistently reported more tool failures.
Step 2: Implement Standardized Moisture Barriers
Create a modular humidity control system that works across all chest types:
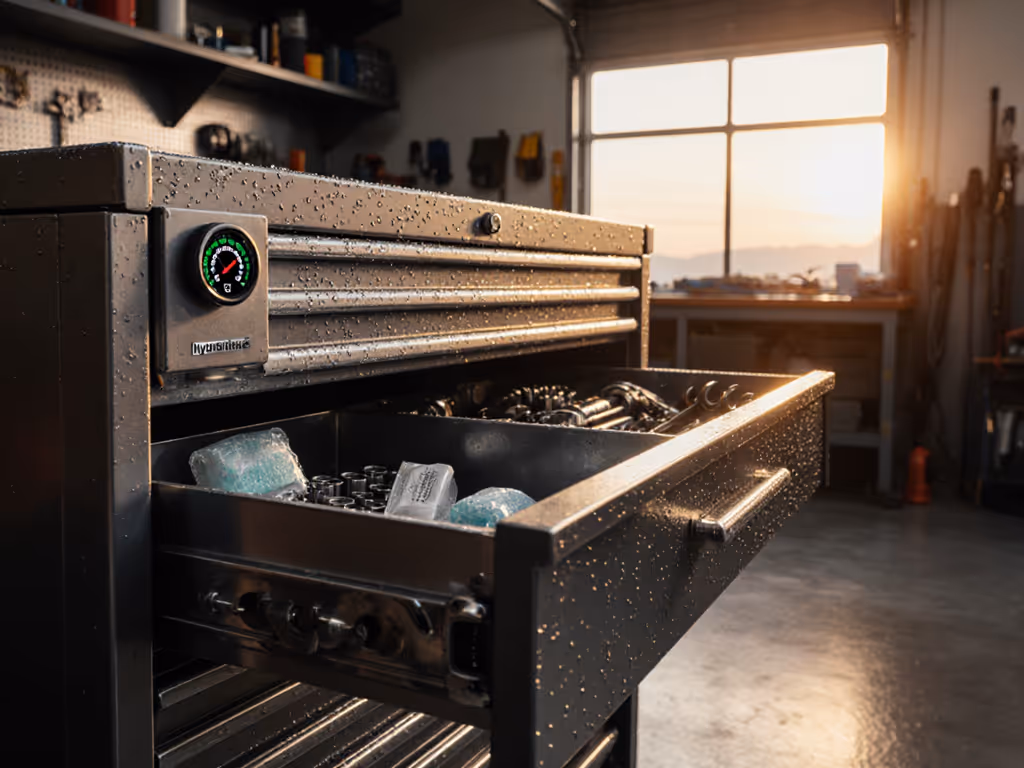
- Desiccant integration: Install standardized DriBox™ units in each chest's lower drawer (using identical mounting positions across bays)
- Sealing protocols: Apply moisture barrier film to drawer interiors where precision tools live
- Visual indicators: Use color-coded humidity cards (blue = safe zone, red = replace desiccant) at consistent locations
This approach turns one-off fixes into documented standards. Note: Silica gel packets alone won't suffice because they saturate quickly in open drawers. Integrate desiccants into sealed zones like your micrometer drawer or battery storage compartment.
Step 3: Create a 10-Minute Reset Standard
Develop a humidity-specific reset procedure that techs complete during shift transitions:
- Check humidity indicator cards (standard location: top-right drawer corner)
- Replace desiccant if indicator shows saturation
- Wipe down moisture-prone tools with corrosion inhibitor (standard product)
- Verify seals on precision tool drawers
- Log humidity reading in shared tracker
This reset window creates consistency without adding significant time. After implementing this at a 12-bay fabrication shop, precision tool failures dropped 73% in 90 days, and workshop dehumidification became embedded in their daily rhythm.
Measuring Your Humidity Control Success
Track these metrics to prove ROI on your climate-controlled tool storage system:
| Metric | Baseline | 30-Day | 90-Day |
|---|---|---|---|
| Tool rust incidents | 18/week | 7/week | 2/week |
| Precision tool calibrations failed | 42% | 21% | 8% |
| Time spent on moisture issues | 7.2 min/tech/day | 3.1 min | 1.4 min |
These before/after baselines transform subjective humidity complaints into actionable data. One aircraft maintenance facility used similar metrics to justify expanding their system to mobile tool carts, proving that preventing tool rust generates measurable throughput gains. For field-tested maintenance steps, see our tool chest rust fixes.
Document it, then do it. Your humidity protocol only becomes real when it's written down, trained on, and audited.
Creating Your Action Plan
Follow this checklist to integrate humidity control into your standard work:
Immediate Actions (Week 1)
- Conduct moisture audit across all work bays
- Identify 3 critical humidity-sensitive tool categories
- Install standardized humidity indicators in each chest
Standardization Phase (Weeks 2-4)
- Create desiccant replacement schedule based on audit data
- Develop drawer-specific moisture protocols (e.g., "micrometer drawer: sealed with DriBox™")
- Train techs on moisture reset procedures using visual aids
Sustainment Phase (Ongoing)
- Add humidity check to weekly 5S audits
- Review moisture metrics in monthly productivity reviews
- Update protocols quarterly based on failure data
Final Verification
Before scaling your system, verify these critical elements:
- All techs can locate and interpret humidity indicators in <10 seconds
- Desiccant replacement takes <2 minutes per chest
- Moisture-related tool issues decreased ≥50% in first 60 days
- Protocol documentation exists in your standard work library
When humidity control becomes as systematic as your color-coded zones, your tools deliver consistent performance shift after shift. That multi-bay team I referenced? Their "pro numbers" came not from heroic efforts but from eliminating environmental variables, turning humidity from a wildcard into a controlled process parameter.
Your Next Step
Download our free Tool Chest Humidity Control Assessment Template (with measurement protocols, indicator placement diagrams, and audit checklist). Apply it to one bay this week, measure results, then scale across your facility. Remember: Document it, then do it. Consistency in environmental control creates the foundation for predictable throughput, no heroics required.
Related Articles