Best Top Chest Tool Box Comparison Guide
By Linh Nguyen • 24th Apr
Choosing the right top chest tool box means deciding whether your most-reached tools live in arm's reach or whether you're crossing the bay 20 times a shift. A best tool chest isn't just storage. It is the foundation of a workflow that either compounds efficiency or erodes it with every motion.
For professional technicians, shop owners, and makers running production bays, this choice carries weight. A top chest sits at eye and waist level, positioning your most critical tools where fatigue doesn't creep in. That proximity matters more than you might think. Quiet slides and labeled zones keep brains fresh, even after eight hours of dense work.
Understanding the Top Chest Tool Box
A top chest is a drawer unit designed to sit atop a roller cabinet, workbench, or mounting surface. For a deeper overview of standalone top chests and when they beat roller cabinets, see our top chest space-efficiency guide. It's typically shallower than a full base cabinet (usually 18-24 inches deep) and narrower in width (36-54 inches), making it ideal for staging and organizing smaller, frequently accessed tools: wrenches, screwdrivers, gauges, fasteners, and precision instruments.
The architecture is deceptively simple but critical. Unlike a hutch (which sits high and creates reach strain), a top chest positions drawers at the optimal zone: upper chest to waist level. That reduces the cumulative fatigue that comes from repetitive bending or overhead reaching. When you watch a technician work through a long diagnostic, the ones with top chests don't have the face of fatigue by day's end (fewer micro-pauses, steadier pace, fewer reaching errors).
Why Position Matters More Than You Think
Reach-distance metrics matter. Studies in shop settings confirm that tools positioned within 18-24 inches of your primary working zone cut retrieval time by 30-50% compared to tools stored lower or on distant walls. That isn't comfort fluff. Over a day, those seconds compound into minutes, and over a month, into measurable throughput gains. More importantly, tools that live in the friction zone (where reaching is easy) stay used consistently. Tools that require bending or stretching get skipped, leading to improvisation and the slow erosion of your chosen workflow.
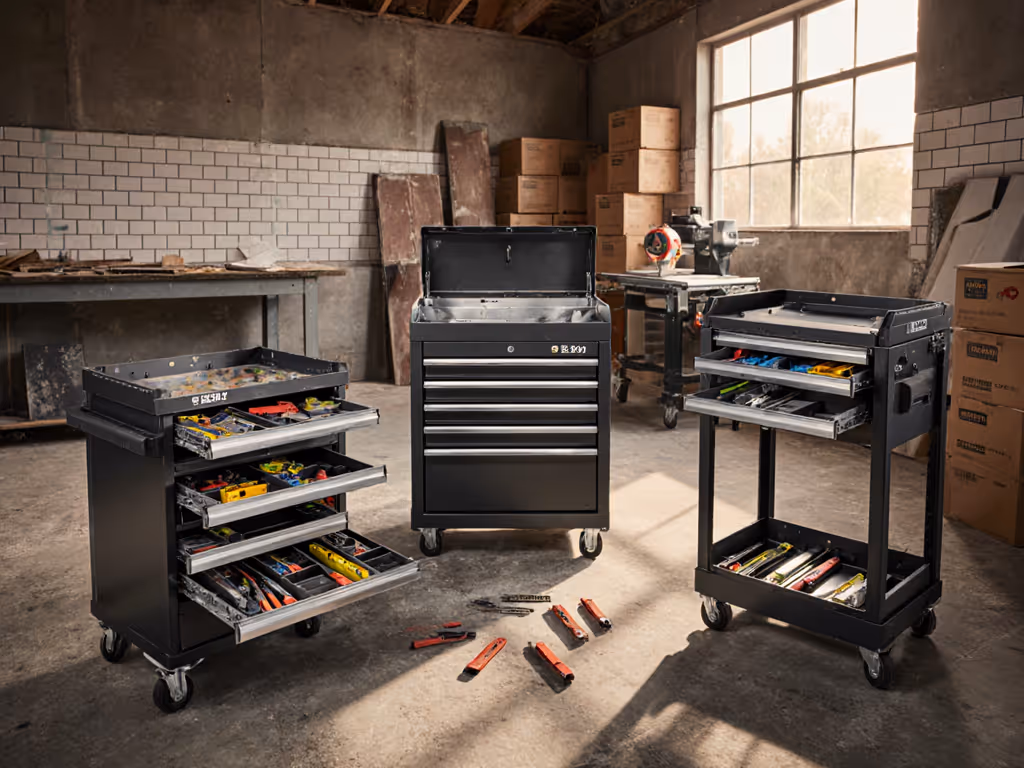
Top Chest vs. Roller Cabinet: When Each Wins
Misunderstanding this distinction leaves teams with the wrong setup.
A top chest excels when:
- Your most-used tools number fewer than 60-80 items
- Your bay layout supports stacking (existing roller cabinet or sturdy workbench)
- You need rapid, one-motion access to hand tools, fasteners, and gauges
- Your team benefits from space-efficient tool organization without sprawling footprint
- You're staging for mobile or cross-bay work where cart transitions are frequent
- Budget is constrained and you want to build storage incrementally
A roller cabinet makes sense when:
- Your tool set exceeds 150+ items across multiple sizes and categories
- You need top chest vs roller cabinet flexibility (both high-access zones and deep storage)
- Your bay is anchored; tools don't move between stations
- You want one monolithic system rather than a stacked approach
- You benefit from integrated wheel mobility to reposition the entire unit
Many professional shops run both in the same bay. The top chest holds the "hot set" (the 40-60 tools that live in the task loop) while the roller cabinet holds depth and backup inventory. That tiering prevents drawer chaos and keeps the zone where your hands live clean and indexed.
Core Comparison Criteria: What Separates Average from Exceptional
Slide Glide and Noise
Noise is underrated as a fatigue driver. A drawer that glides quietly under load (without racking, binding, or metallic squeal) signals precision engineering and compounds steadiness throughout the day. Noisy slides are a hidden fatigue tax. Compare slide types in our ball bearing vs roller vs soft-close guide to choose hardware that stays smooth under load. They startle, break focus, and train you to hesitate before reaching.
Look for:
- Full-extension slides rated for at least 75-100 lbs per drawer. Partial-extension drawers waste depth and force awkward reaching into the back.
- Ball-bearing construction (not roller, not plastic glides) for smooth close under real loads and 20,000+ cycle ratings.
- Soft-close or damping mechanisms that eliminate slamming and reduce noise by up to 70%.
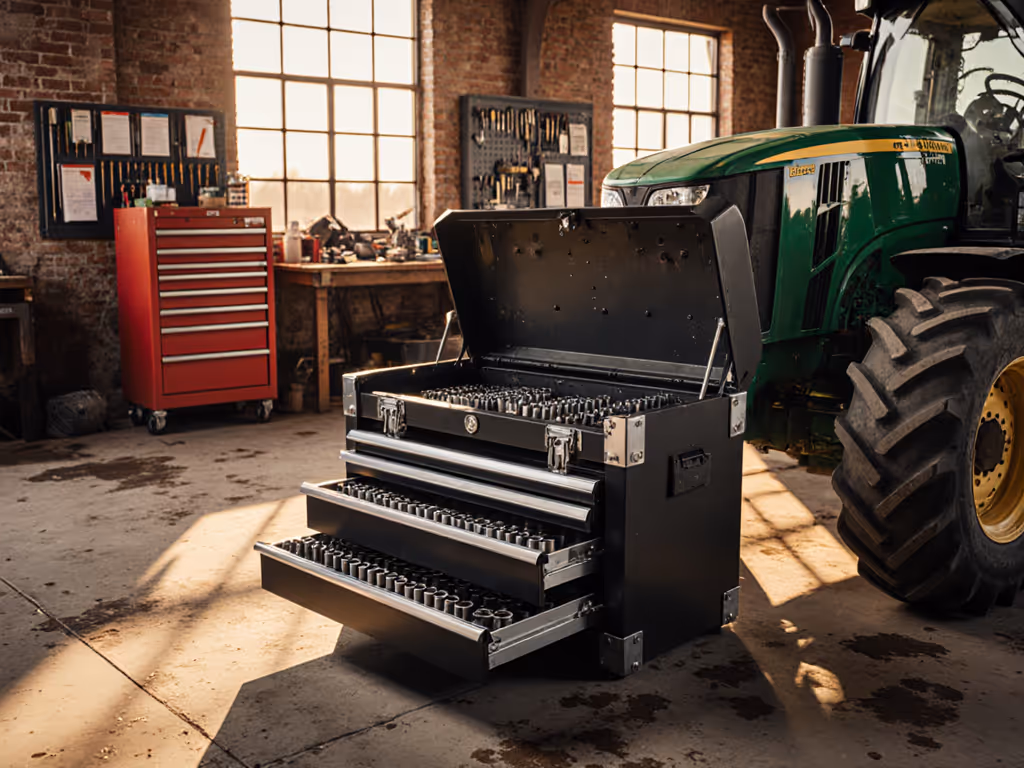
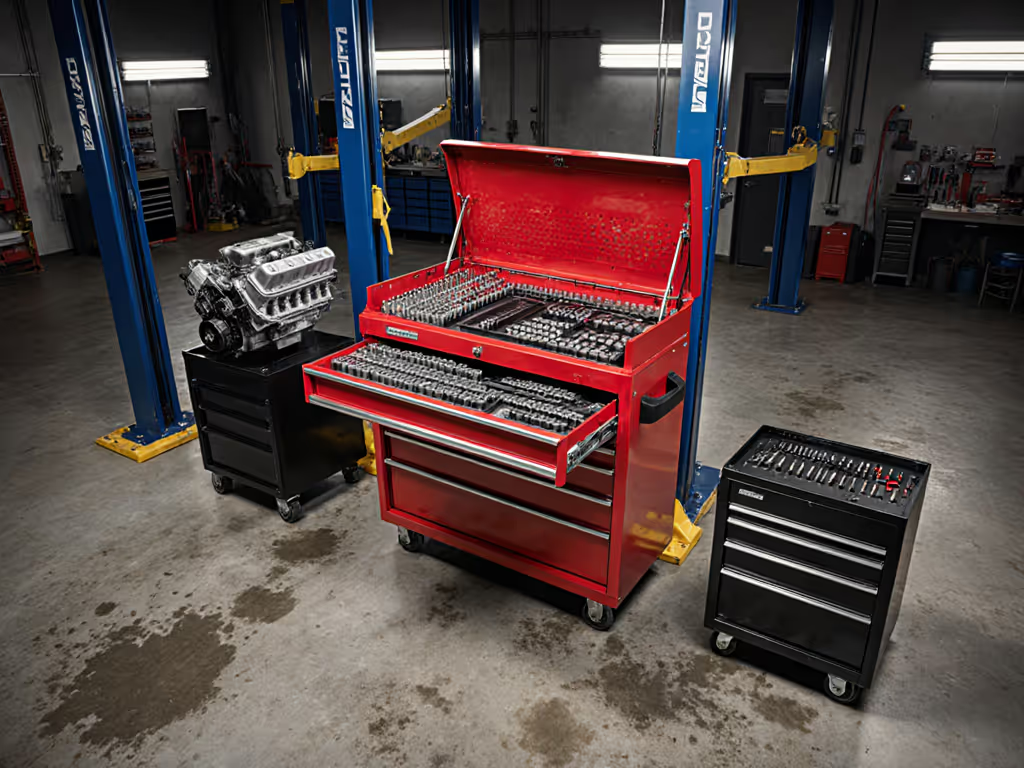
Load Capacity and Depth
A top chest drawer rated for 100 lbs sounds adequate until you load it with wrenches, sockets, and gauges. Real-world loads often hit 80-120 lbs. Drawers that sag or bind under that weight are safety hazards: tools tip, shelving warps, and techs start avoiding the drawer altogether (chaos migration).
Depth is equally critical. Use our optimal drawer depths guide to match tool categories to drawer height before you buy. A 24-inch drawer is the practical minimum for workshop tool rack versatility; 18-inch drawers force you to stack and double-layer, adding retrieval friction.
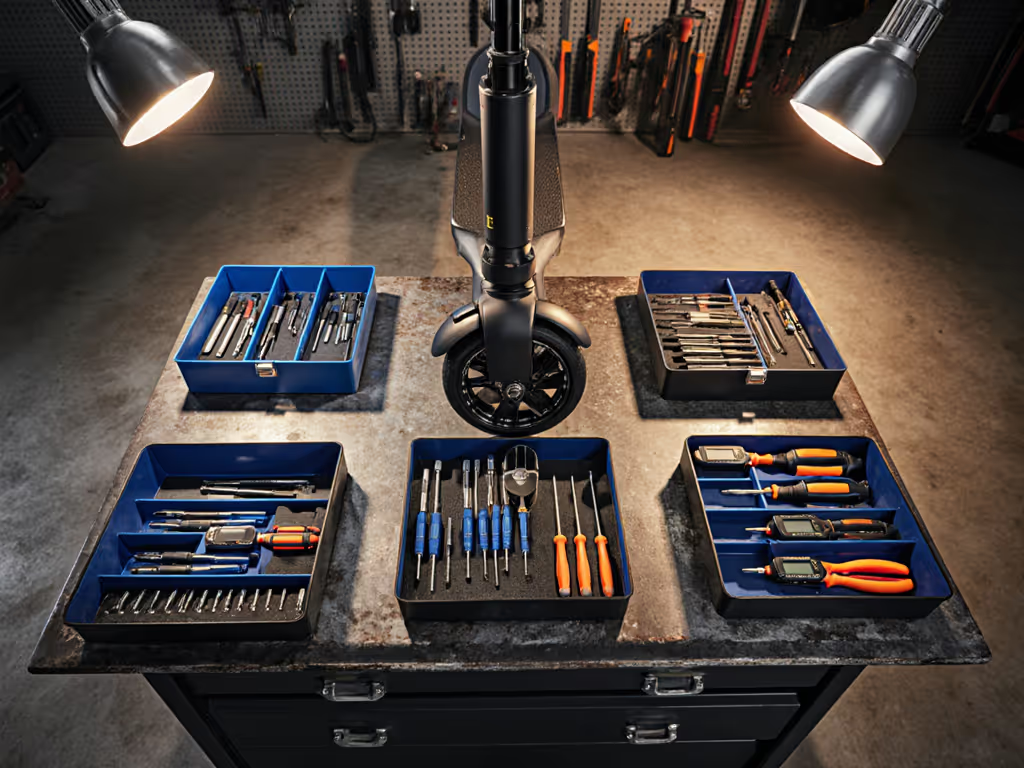
Labeling and Visual Management
This is where most setups fail. A drawer without a label is an invitation to chaos. But labels must survive shop reality: solvent wipes, temperature swings, vibration, and the daily wear of a productive bay.
Winning setups use:
- UV-resistant, high-contrast labels (black on white or white on black) readable from 6 feet away.
- Shadow foam or divider systems with integrated label slots so the label lives alongside the tool shadow.
- Color-coding by category (red for electrical, blue for pneumatic, etc.) so visual scanning works even before reading text.
- Laminated or laser-etched drawer maps fixed to the side or above the unit so new techs or cross-coverage hires reference the standard without asking.
Drawer Count and Drawer Configuration
More drawers sounds better until you realize shallow drawers (3-4 inches) force you to sort by hand or use excessive foam. Fewer, deeper drawers (6-8 inch) with internal dividers often beat shallow-drawer proliferation.
A typical winning top chest for professional work:
- 8-10 drawers total
- 2-3 shallow drawers (3-4 inches) for fasteners, small hardware, labels
- 4-6 medium drawers (6-8 inches) for wrenches, gauges, testers, precision bits
- 1-2 larger or open-top drawers for oversized items or flexible storage
Material Finish and Durability
Steel construction is non-negotiable for professional bays. Powder-coat finish over cold-rolled steel resists corrosion and shop chemicals better than paint. Look for:
- Thickness: 16-gauge or better for drawer boxes and frame.
- Finish: Powder-coat or baked enamel rated for industrial solvents (acetone, brake fluid, welding spatter).
- Hardware: zinc-plated or stainless drawer slides and hinges; keyed-alike locks for security.
Locking System and Security
For shops with multiple techs or sensitive tool inventory, a keyed-alike locking system (one key opens all drawers) prevents tool loss and supports audit controls. High-security systems with tubular locks and reinforced hasps make accidental drawer drift or tampering harder. For a deeper look at lock types and break-in resistance, see our locked tool chests security comparison.
How Setup Transforms Workflow
I've seen the difference firsthand. In a heat-soaked bay, I watched a tech fight sticky drawers and unlabeled chaos (reaching blindly, pulling three drawers to find one item, then leaving them open out of frustration). We reset heights, swapped slides, shadowed top tools with labeled foam, and staggered drawer depths. After lunch, reach dropped by half and fatigue faces disappeared. That wasn't magical; it was ergonomics working as designed.
The setup phase is non-negotiable:
- Inventory your hot set. Pull every tool you use weekly in your primary tasks. That's your top chest candidate list.
- Shadow and label. Buy precision shadow foam or laser-cut custom dividers. Each tool gets a home and a label. Spend the time here; it saves months of friction.
- Standardize across bays. If you run multiple workstations, use the same top chest model and identical drawer maps. Techs swap bays without learning chaos.
- Test reach and glide. Fully load a drawer, close it, open it five times. Does the slide move smoothly? Does the drawer close fully or jam? That's your live test.
- Post the map. Laminate a drawer schematic and tape it to the side or above. New techs onboard without questions.
Selecting the Right Top Chest for Your Workflow
Start by answering these questions:
- How many tools live in your primary task loop? Fewer than 60 items? A 6-8 drawer top chest is enough. More than 80? You need a larger unit or a stacked system.
- What's your primary work type? Diagnostic testing needs gauges and small parts (shallow drawers). Heavy-duty wrench work needs depth. Fabrication needs organized fasteners and sheet goods. Match drawer depth to tool mix.
- Do you share bays or cover cross-craft tasks? Standardization wins. Pick one proven model and deploy it identically.
- What's your slide and noise baseline today? If your current cabinet has slides that bind or drawers that squeal, you're losing steadiness and safety. Upgrading to full-extension, soft-close slides is measurable ROI.
- Are you expanding soon? Choose a top chest that pairs well with a roller base or side cabinet. Modular ecosystems save rework when your tool set grows.
Actionable Next Steps
Step 1: Map Your Baseline. Spend one shift tracking every tool reach and every second lost to searching. Timestamp it. You'll have your efficiency baseline.
Step 2: Identify Your Top Chest Candidate. Define size (6-8 drawers, 36-48 inches wide) and confirm your workspace can support stacking on an existing cabinet or bench.
Step 3: Test Glide and Load. Visit a supply house or distributor and fully load a demo unit. Open, close, and listen. Smooth, quiet movement is non-negotiable.
Step 4: Prototype the Drawer Map. Buy precision shadow foam or laser-cut dividers and lay out your hot-set tools. Label aggressively. Live with it for three days and adjust.
Step 5: Deploy and Standardize. If the prototype works, roll it out identically across all bays or team members. Document the standard and train new hires to it.
Step 6: Measure the Gain. Thirty days in, time your tool retrieval again. Calculate steps eliminated and seconds saved. That's your ROI baseline. Use it to justify Phase 2 upgrades (roller cabinet, hutch, or additional units).
A top chest tool box isn't a luxury. It is a production system. When quiet slides and labeled zones keep brains fresh, fatigue doesn't creep in, reaches don't compound error, and your steady pace becomes the bay standard. That's the compound return on ergonomics done right: fewer mistakes, steadier pace, safer hands. Start with the hot set, lock down the labeling, and measure the shift. You'll see it in output, in safety audits, and in the faces of techs at day's end.
Related Articles