Bicycle Tool Organization: The Complete System
By Mateo Silva • 23rd Feb
Bicycle repair tool organization isn't just about aesthetics, it's about the cost of uptime. Whether you're running a two-person shop or managing multiple repair bays, bicycle repair tool organization systems directly impact labor hours, error rates, and tech retention. The same principles that govern professional automotive bays apply here: retrieve tools in seconds, group by workflow, standardize across stations, and eliminate the junk-drawer tax that compounds with every job.
I've watched operations cut retrieval time in half by shifting from wall chaos to a tiered system: wall for the highest-use items, dedicated drawers for secondary tools, and modular storage for specialty work. Two years in, zero drawer failures because the fundamentals were right from the start. The math is simple: buy for the job you do next, not the job you'll never run.
1. Establish the Tool Wall for Your Highest-Use Items
The tool wall is the heartbeat of efficient bicycle repair shops. Place your most-used tools: hex keys, pliers, cable cutters, and chain tools, at chest or torso height where you can grab them without bending or reaching. This isn't decoration; it's motion economy.
Group related tools together by function: chain breaker near chain quick-link pliers, cable cutters clustered with ferrule tools, bearing removal tools arranged by size. Position specialty items inline with where they'll be used (if your repair stand sits against the back wall, the chain breaker should hang directly above or beside it), cutting seconds per task.
The cost math: Wall space is cheap. Retrieving a tool in two seconds instead of hunting through three drawers saves 15-20 seconds per job. Multiply that by 40 repairs per week, and you've recovered 8-13 hours monthly in pure efficiency gain.
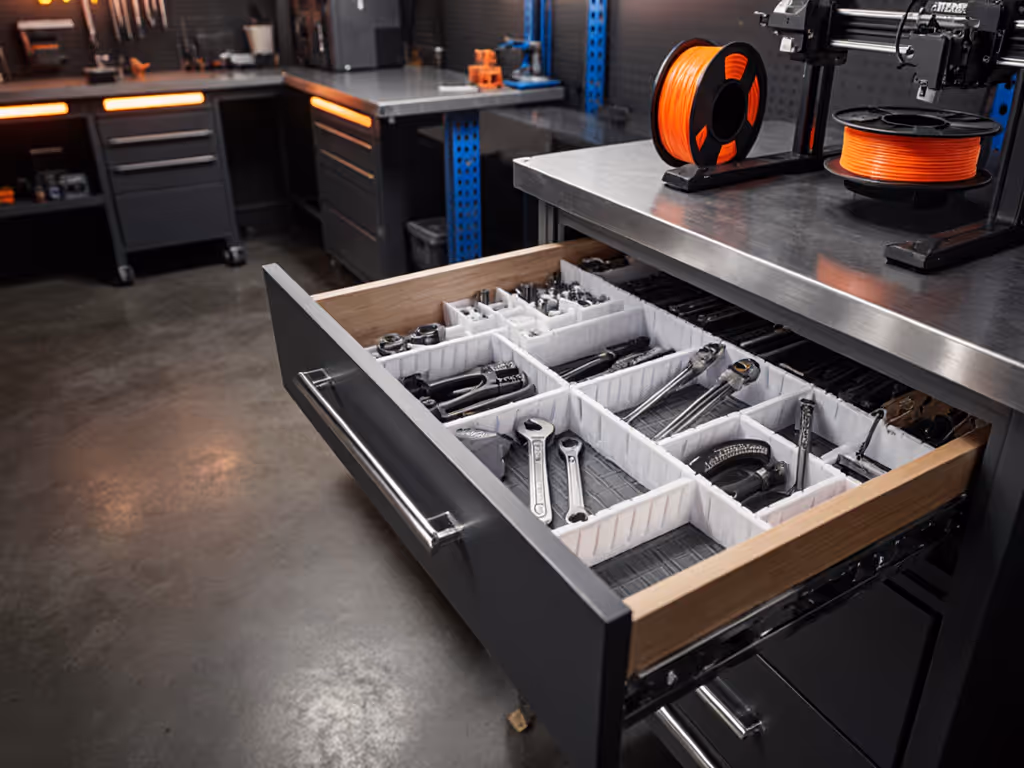
2. Design Drawer Hierarchy by Tool Category and Frequency
Your most-frequently accessed drawers belong at waist height; lesser-used tools live higher or lower. For sizing guidance on drawer depths by tool type, see our optimal tool drawer depths guide. Create dedicated drawers by function, not by "leftover space." This means:
- Prime drawer (waist height): Cable/housing tools, pliers, screwdrivers
- Secondary drawers: Derailleur adjustment tools, bearing removal sets, special pullers
- Top or bottom drawers: Measurement tools, cutting guides, files, specialty derailleur tool storage solutions that see occasional use
The key principle is visual segregation. Metal shavings and shop grime corrupt precision tools. Keep your digital calipers, headset tools, and torque wrench storage separate from fluid-prone work zones. This extends tool life and eliminates the false economy of "well, it's close enough."
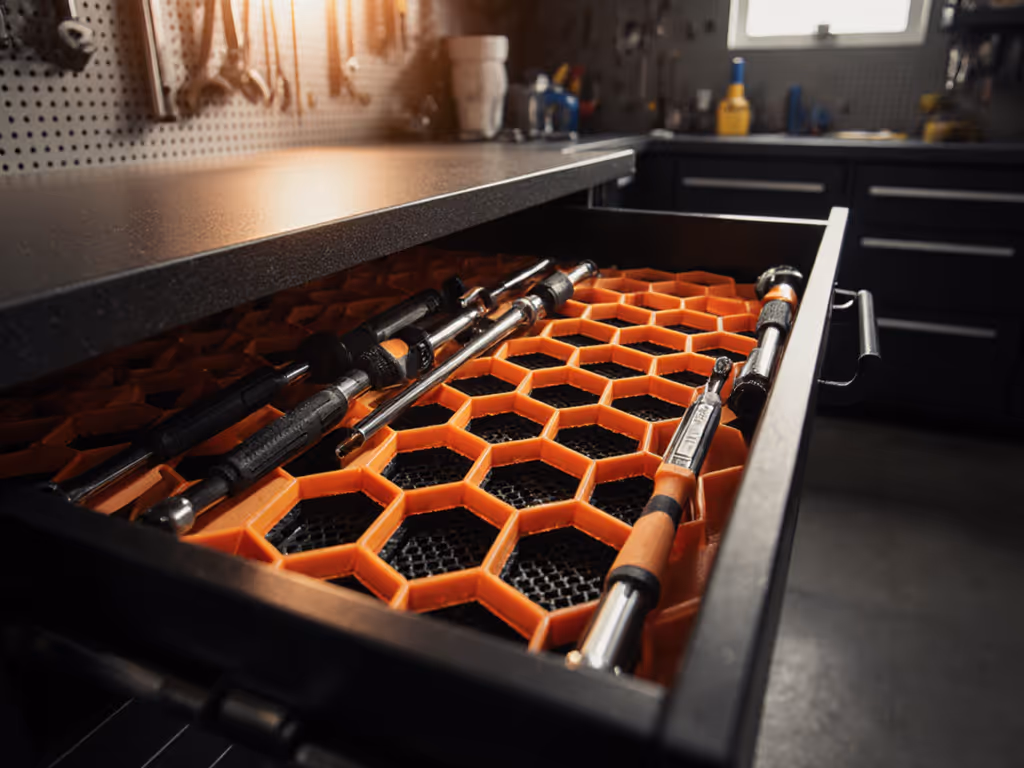
3. Choose Your Inner-Drawer Organization Method
Three proven approaches dominate professional shops:
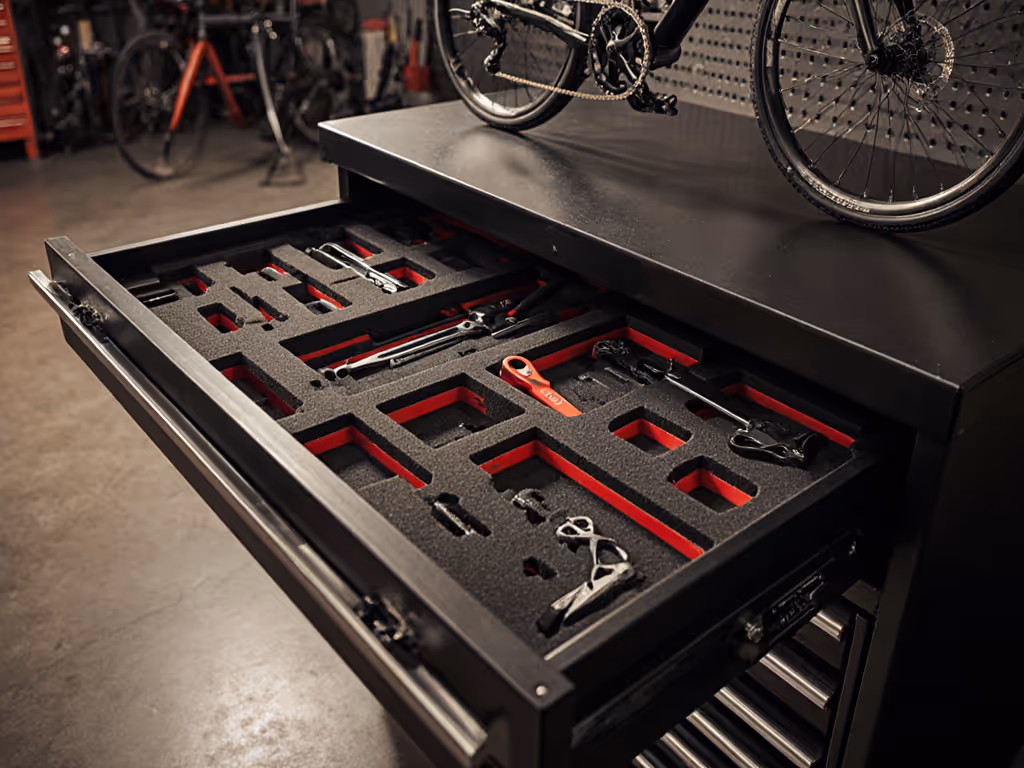
Cut-foam systems: Each tool has a dedicated silhouette. Expensive to set up, but they offer instant visual confirmation when something's missing, critical in regulated environments or multi-tech bays where accountability matters. The ROI appears when you catch a missing bearing tool before it's lost to the floor.
Elastic webbing and slotted pallets: Flexible layout allows tool adjustment as your inventory evolves. Many professional mechanics prefer this for field kits and portable mechanic tool cart setups; you work from the kit open, not by pulling individual items. Park Tool and B&W offer these systems with modular pallet inserts that take customization.
Hybrid approach: Mount socket rails (like Ernst Manufacturing designs) for sockets and spanners; use dowel-and-ply holders for bearing drifts and special tools; reserve foam cutouts for your most-used or highest-loss items. This avoids overinvestment in foam while protecting critical tools.
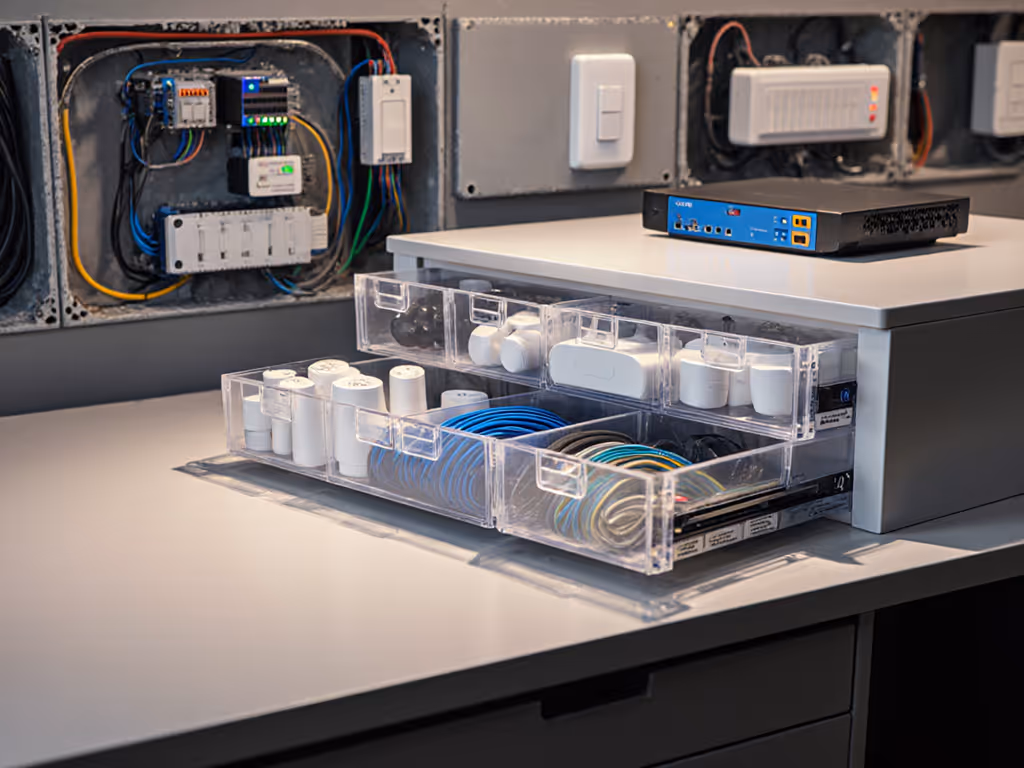
4. Integrate Power and Charging Into Your System
Cordless tools and diagnostic equipment demand integrated charging and cable routing, not an afterthought. For built-in charging and battery management options, see our integrated power station tool chests. Designate a drawer with ventilation cutouts for battery storage and charging, keeping lithium packs away from fluids and extreme heat. Run cable conduit along drawer fronts or top surface to manage power leads without tangling or trip hazards.
This is total-cost math: A single battery left uncharged or stored improperly costs you a job. A cable across the floor costs you a tech injury and downtime. Build power management into the cabinet, not around it.
5. Standardize Setups Across Multiple Bays
If you have two or more repair stations, standardize your drawer layouts. Create a laminated reference card for each drawer tier showing tool names, locations, and usage notes. When a tech moves between bays or covers for someone else, they already know where the bearing removal kit lives.
This reduces cognitive load and prevents the cascade of repeated errors. The investment is one laminated poster per station. The payoff is measurable: any tech can now complete a mountain bike repair organization task or road bike overhaul in the same timeframe, regardless of which bay they're in.
6. Design for Scalable Growth
Your current tool set won't be your tool set in three years. Buy a cabinet system that lets you add a top hutch, side cabinet, or modular drawer bank without forcing a complete teardown. If you're planning for long-term growth, our modular tool storage strategy explains how to choose compatible systems that expand cleanly. Full-extension slides are non-negotiable. They double your working depth and let you access rear items without pulling everything forward.
Caster quality matters enormously. Under a full load of heavy tools, poor casters bind, stick, or fail. Smooth, rated casters mean your portable bike workshop setup rolls freely on gritty floors, reducing the friction cost of moving between work areas. This is where cheap chests fail: the infrastructure deteriorates faster than the tooling.
7. Label Everything for Durability
Label each drawer and each drawer divider. Use industrial-grade labels that survive solvent spray-down and daily handling. Include not just the tool name but the quantity and use case: "Bearing Drift Set (5-sizes), daily use" tells a tech and a manager more than "misc bearings."
Labeling is the 5S discipline most teams skip, and it's the first thing that breaks down when things get busy. When you label, your system survives chaos.
8. Measure and Audit Retrieval Time
Here's the discipline that separates operations from hobby shops: measure your baseline. Time a standard repair, say, a headset adjustment or rear hub service. Count the steps and tool retrievals. Now reorganize using the principles above and measure again.
Target the 10-second rule: your most-used tools should be in hand within 10 seconds from your primary work position. Document the before-and-after. If you've cut 30 seconds per job and you're running 30 bikes per week, that's 15 hours of labor you've freed up for higher-value work or reduced overtime.
This is the proof that transforms skepticism into buy-in, especially when the investment in better casters or full-extension drawers pays for itself in weeks.
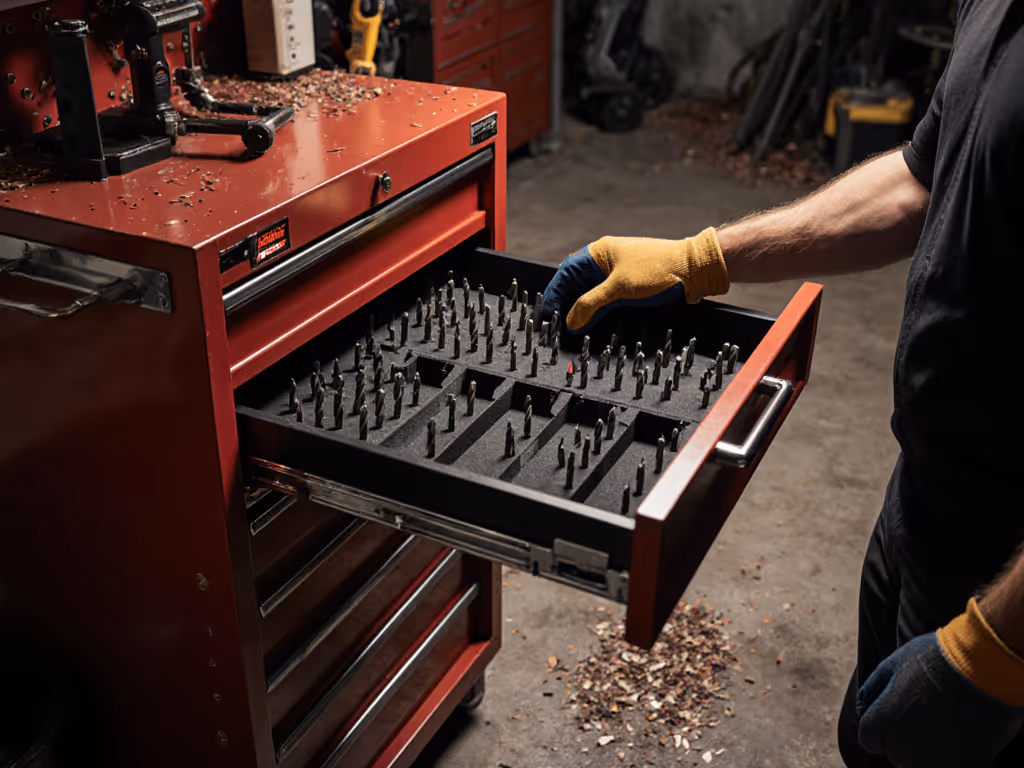
9. Plan for Dust and Debris Control
Shop grime migrates into open drawers. Sealed or gasket-equipped drawers protect your precision tools: calipers and straightedges. Torque wrench storage deserves isolation from metal shavings and brake fluid mist. If your cabinet offers drawer gaskets, use them for your top tier.
This extends tool calibration intervals and prevents the slow creep of errors that comes from corrupted measurement.
10. Choose Modular, Serviceable Components
When a drawer slide fails or a caster seizes, can you replace just that part, or does the whole cabinet become e-waste? Professional-grade chests offer individual replacement slides, casters, and pallets. This is the true cost-of-ownership math: a $1,200 cabinet with a $40 slide replacement available beats a $600 cabinet that fails in year two and forces a full rebuy.
Check parts availability before purchase. Verify warranty terms, pro shops demand multi-year coverage on mechanical components.
--
Efficient bicycle repair tool organization is workflow architecture, not interior design. The system must be retrievable, scalable, and maintainable. Every inch of drawer real estate should earn its keep through reduced motion and instant visual control. Start with the wall and top-tier drawers; build outward as your inventory and team grow. Measure early, standardize ruthlessly, and refresh your labels as your work evolves.
The point isn't to own the shiniest toolbox on the floor, it's to own the one that costs the least per hour of downtime eliminated. That's the job you're actually hiring a tool chest to do next.
Related Articles