Tile Installer Tool Chest Comparison: Pro Storage Guide
By Tomáš Novák • 2nd Jun
Tile crews do not need more buckets and bins; they need ceramic tile work storage solutions that survive stairs, slurry, and long pushes from van to unit. This tile installer tool chest comparison breaks down what actually works for tile (by workflow, not marketing copy).
If you set tile for a living, your chest has to eat dust, water, and vibration without spitting your tools back out on the floor. Out there, the measure is simple: does your setup keep the day on rails, or do you burn time chasing trowels, shims, and charger cords?
Problem: Tile Work Is Storage Hostile
Tile is brutal on storage in ways most general tool reviews ignore.
You are moving:
- Heavy containers of thinset, grout, and leveler
- Long, awkward tools like straightedges and levels
- Wet, abrasive gear from the saw (trays, pumps, blades, fences)
- Soft goods that must stay clean: grout floats, sponges, microfiber rags
- Small, easy-to-lose items: spacers, wedges, clips, shims
All of it rides in a chest that gets:
- Dragged over cracked concrete, pavers, and jobsite debris
- Bounced up curbs, ramps, and stairs
- Splashed with slurry and wash water
- Loaded and unloaded into vans and trailers
Most generic chests are designed for dry, even-floored shops. In tile, that means:
- Slides corrode and start to grind
- Drawers creep open on slopes
- Casters flat-spot under real weight
- Wet gear contaminates the rest of your kit
You do not just lose neatness. You lose throughput: minutes every day hunting tools, repositioning the chest, and babying stuck drawers. Cut wasted motion with our tool chest organization guide designed to reduce retrieval time to seconds.
If it rattles, it's stealing seconds from you.
Agitate: How Bad Storage Bleeds Time on Tile Jobs
Let's quantify what a bad tool chest does to a tile crew.
1. Wet Saw and Tile Cutter Chaos
Most chests treat wet saw tool storage as an afterthought. The tray, pump, fence, extra blades, and wrenches end up in random buckets.
Typical failure modes:
- Pump tossed in a corner, hose kinked or cracked
- Blades sliding around with other metal (edges chipped before they touch tile)
- Fence lost under rags; micro-adjustments take extra minutes
Multiply 3-5 extra minutes per setup by two or three cutting sessions a day, and you are burning 30+ minutes a week just because the saw kit has no defined home.
Rail and snap cutters are similar. Poor tile cutter organization means:
- Cutters ride loose in the van, misaligned from impacts
- Scoring wheels and spares buried in a "misc" drawer
- Long rails never quite fit any drawer, so they block something critical
One hard hit to a mis-stored cutter can cost you an hour of re-tuning (right when a layout is on the line).
2. Grout and Cleanup Contamination
Grout days are where sloppy grout float storage and sponge management punish you.
- Floats buried under thinset tools = cross-contamination
- Sponges and rags mixed with utility knives and screws = shredded consumables
- Grout additives and sealers with no stable compartment = leaks into drawers
Result: more trips back to the van just to grab a clean float, and more money burned on consumables ruined by poor storage.
3. Mobility That Fights You
On tile jobs you regularly push a loaded chest over:
- Gritty concrete floors
- Fresh underlayment seams
- Thresholds and door lips
Casters that are too small, too hard, or poorly mounted will:
- Chatter and vibrate, shaking fasteners loose
- Hang up on cords and hoses
- Encourage techs to leave the chest in the hallway rather than near the work zone
Every extra 20 steps to the chest adds roughly 30-40 seconds per retrieval. Ten extra trips per day is 5-7 minutes. Over a month, that is hours of billed time lost to poor caster floor-interface performance.
4. Vibration and Rattle Damage
On real jobs, a chest travels miles over its life. If the slides, latches, and internal dividers are not built for vibration:
- Screws back out and roll around in drawers
- Dividers collapse; small parts migrate everywhere
- Drawer latches loosen and start ghost-opening on ramps
Years ago on a hospital retrofit, I watched a "jobsite-rated" chest slowly shake itself apart (drawers creeping, plugs loosening, hardware collecting in the bottom). That week taught me that layout means nothing if the structure cannot hold it together under vibration.
Solve: Compare the 3 Main Tile Installer Storage Archetypes
Most tile pros end up in one of three camps:
- Modular rolling jobsite stacks (plastic, box-on-box systems)
- Heavy-duty steel mobile chests (shop or trailer base station)
- Hybrid van + tile cart setups (small chest plus buckets/crates)
This tile installer tool chest comparison looks at each through a tile-specific lens: wet vs dry zoning, tile cutter organization, grout float storage, mobility, and vibration resilience.
Evaluation Criteria for Tile Chests
Before choosing a system, judge every candidate by these tile-focused criteria:
-
Caster design & floor interface
Size, tread, and mounting strength. Can it roll quietly over grit and thresholds without shaking itself apart? -
Latch integrity & vibration resistance
Positive drawer latches, internal fasteners that do not back out, and slides that stay smooth after months of abuse. -
Wet vs dry zoning
Clear separation between wet saw tool storage, grout cleanup gear, and dry layout/measurement tools. -
Tool access speed
Can you meet the 10-second rule for most-used tools from your primary working position? -
Organization for tile-specific tools
Dedicated layouts for: -
Snap/rail cutters
-
Levels in multiple lengths
-
Mixing gear (paddles, drills, spare paddles)
-
Grout floats, spacers, wedges, clips
-
Power and cord management
Safe routing for corded saws, chargers, extension cords, and GFCI protection near water. -
Serviceability & durability
Replaceable casters, slides, and latches; finishes that tolerate slurry and cleaners.
Quick Comparison Table
| Chest Type | Mobility on Tile Jobs | Vibration Resistance | Wet/Dry Zoning | Access Speed | Best Fit |
|---|---|---|---|---|---|
| Modular Rolling Jobsite Stacks | High (light, modular) | Medium (plastic flex) | Basic (separate boxes) | Good for essentials | Solo/small crews, remodels |
| Heavy-Duty Steel Mobile Chests | Medium (heavier) | High (rigid, latching slides) | Strong (dedicated drawers) | Excellent once dialed | Shops, trailers, commercial crews |
| Hybrid Van + Tile Cart Setups | High near work zone | Medium | Variable (depends on discipline) | Good if well planned | Crews with long van-to-unit pushes |
Archetype 1: Modular Rolling Jobsite Systems
Think stacked, interlocking plastic boxes on a rolling base (common with trades that bounce between small jobs). For tile, they offer modularity but need discipline. See our DeWalt TSTAK vs ToughSystem comparison for a closer look at modular stack trade-offs.
Strengths
- Mobility: Easy to haul up stairs and into elevators one box at a time.
- Modularity: You can build dedicated boxes: one for layout, one for tile cutter organization, one for grout/cleanup.
- Weight control: Individual boxes stay liftable even when full of thinset tools.
Weak Points for Tile
- Vibration & rattle: Plastic rails and weaker latches can pop open under heavy, wet loads and long pushes. If it rattles, it's stealing seconds from you.
- Wet containment: Most boxes are not designed for real wet gear; saw trays and pumps can leak or stink if trapped without ventilation.
- Long-tool storage: Levels and long straightedges rarely fit cleanly; they end up riding outside the system.
How to Make Modular Work for Professional Tile Setter Organization
- Dedicate one large box as a wet saw kit: tray, pump, blades in sleeves, fence, wrenches, GFCI cord. Keep this box low in the stack to lower the center of gravity.
- Use a shallow box with dividers for spacers, wedges, clips, and shims (label clearly and keep it near the top for fast access).
- Keep grout float storage in a separate, clean, ventilated box with only floats, sponges, microfiber, and chemicals. No knives or sharp metal.
- Mount a cord-wrap or hose hook on the rolling base to prevent cords from tangling in the casters.
Modular stacks are best when you travel light, do mostly residential work, and can stage boxes close to the working bathroom or kitchen.
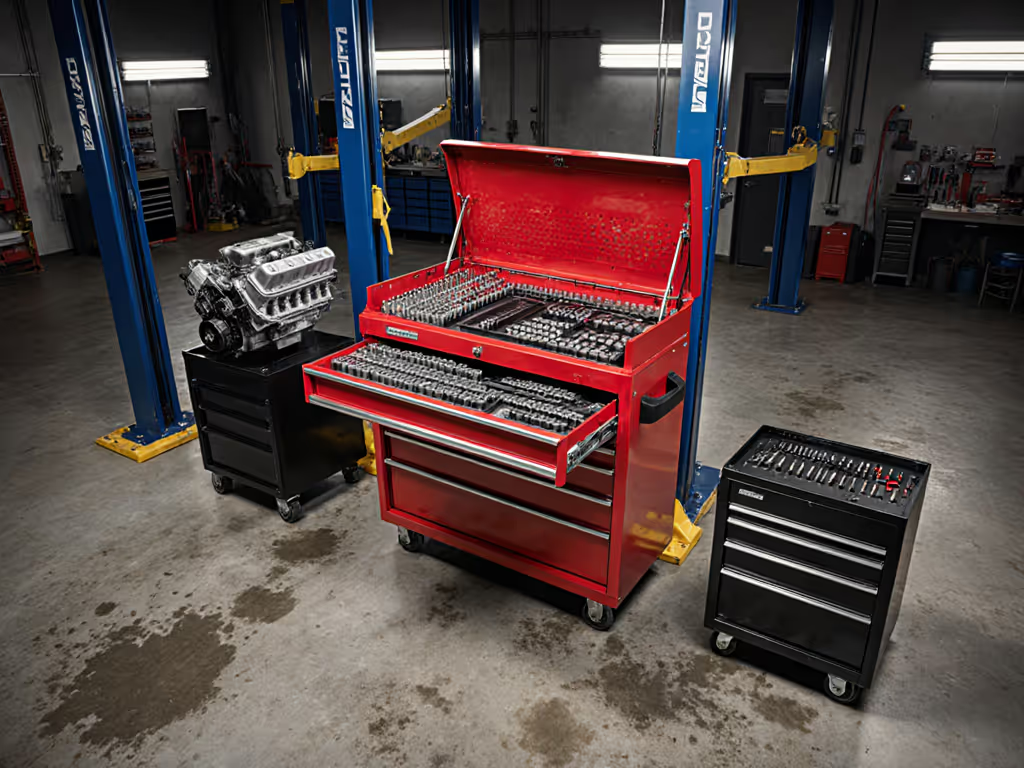
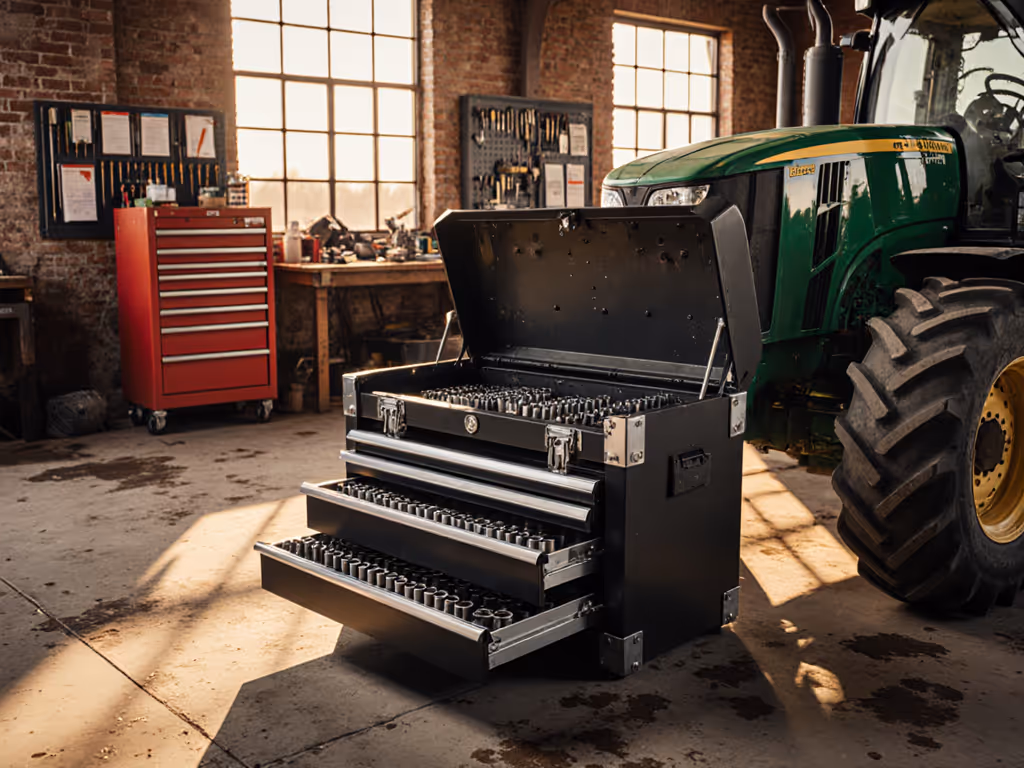
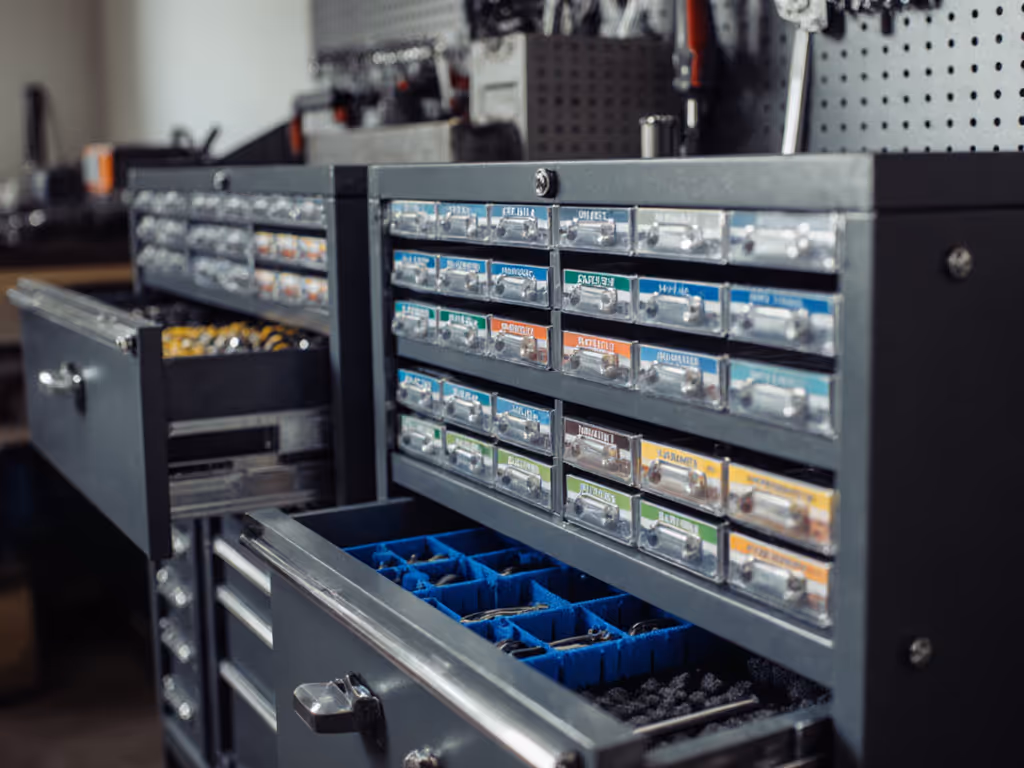
Archetype 2: Heavy-Duty Steel Mobile Chests
These are your traditional steel boxes on large casters (what many shops and trailers use as a base station). When moving between jobs, secure drawers and load correctly with our tool chest transport guide.
Strengths
- Latch integrity & vibration resistance: Steel cases with quality slides and real latches shrug off vibration better than plastic. Drawers stay shut on ramps.
- Capacity and layout: Deep drawers for mixers and grinders, shallow drawers for layout and small parts, plus room for custom foam or dividers.
- Wet/dry zoning: Easy to dedicate separate drawers to wet gear, grout tools, and dry layout tools.
- Security: Better locks and thicker steel help keep high-value saw accessories and lasers secure.
Weak Points for Tile
- Mobility: Even with good casters, moving a fully loaded chest across a rough jobsite or up stairs is hard. These shine as ceramic tile work storage solutions in a trailer, garage, or ground-floor staging area, not as "drag everywhere" boxes.
- Rust risk: If you allow slurry or wash water to sit in drawers, slides will suffer. Keep slides smooth with proper drawer slide maintenance and the right lubricants. You must respect wet/dry separation.
Caster Floor-Interface Notes
On tile jobs, spec casters like they are mission-critical, because they are.
- Aim for large-diameter, soft-tread casters that roll over grout crumbs and thinset splatter instead of skating on top.
- Ensure through-bolted caster plates with locknuts; sheet-metal screws into thin steel will loosen from vibration.
- Locking mechanisms should be easy to operate with a boot (no tiny levers hidden behind debris).
Example Drawer Map for a Tile-Focused Steel Chest
A sample layout for professional tile setter organization in a steel chest:
-
Top drawer (or top till): Layout & measurement
Tapes, pencils, markers, chalk, lasers, layout squares, short levels. -
Second drawer: Cutting hand tools
Nippers, pliers, scoring wheels, hole saws, oscillating blades, drill bits. -
Third drawer: Power cutting & grinding
Angle grinders, blades, dust shrouds, safety glasses, hearing protection. -
Fourth drawer: Setting tools
Notched trowels, margin trowels, mixing paddles, buckets for small-batch mixing. -
Fifth drawer: Grout & finish
Grout floats, sponges, microfiber rags, sealers, caulk guns. Keep this drawer strictly clean. -
Bottom / side compartment: Wet saw tool storage
Saw accessories only: trays, pumps, fences, blades in sleeves, GFCI cords.
Add a side power strip with drip loops and make sure no outlet can be directly splashed by wash buckets.
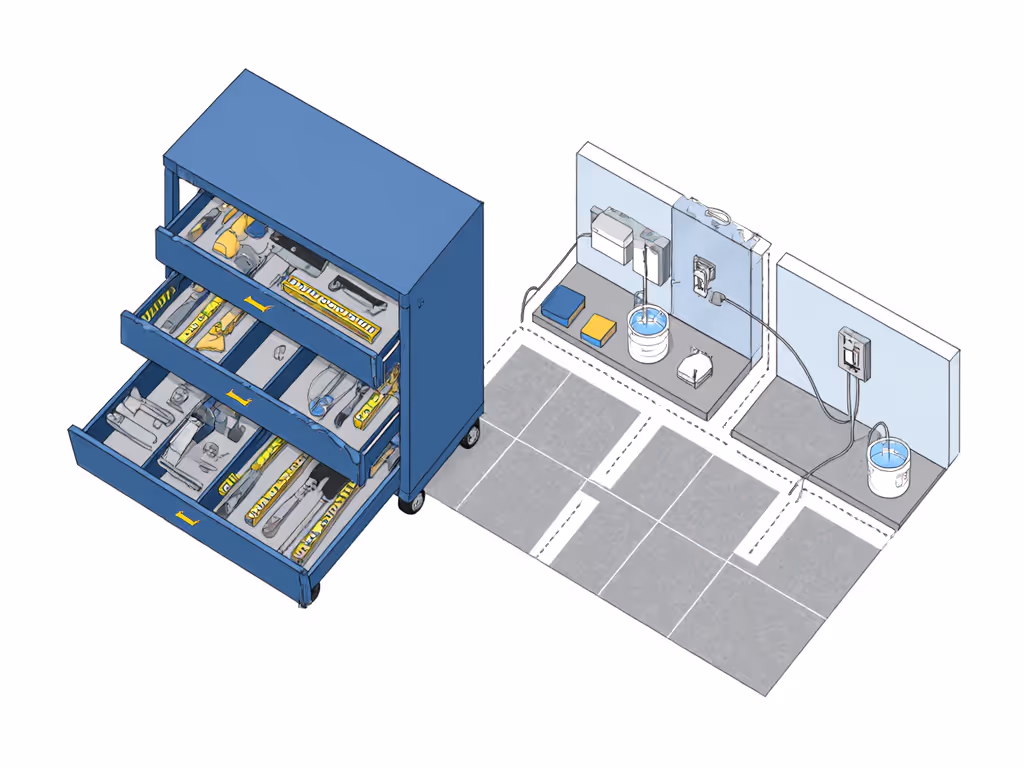
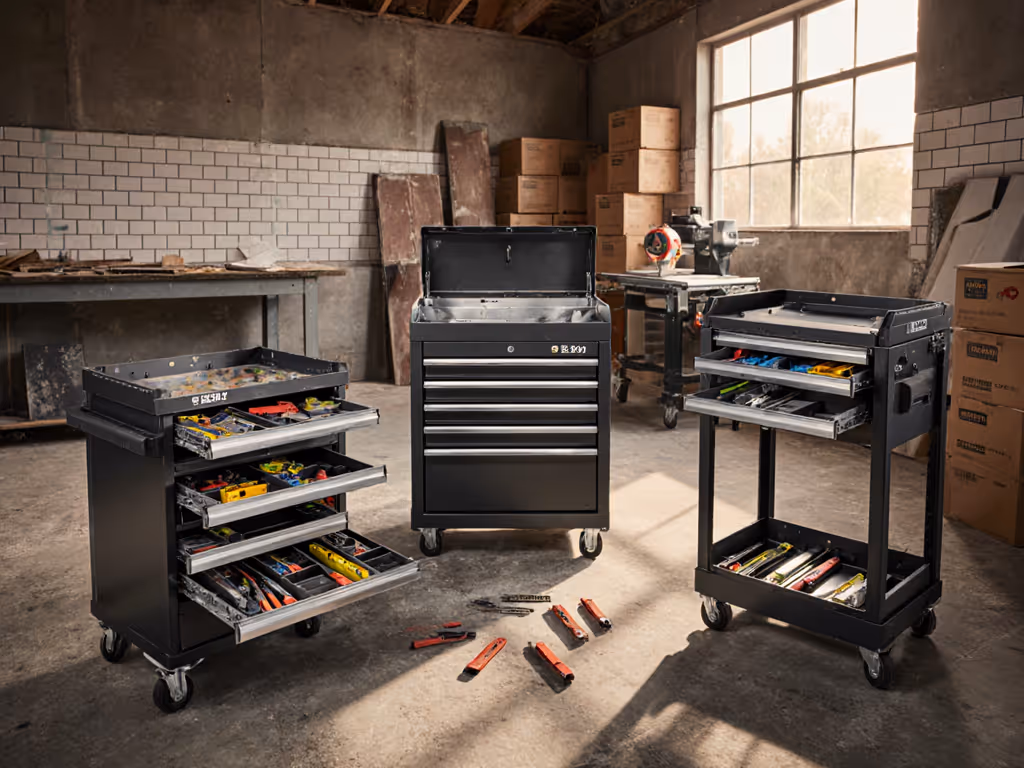
Archetype 3: Hybrid Van + Tile Cart Setups
Many tile pros run the bulk of storage in the van or trailer and shuttle tools to the job with a smaller rolling cart or compact chest.
Strengths
- Excellent on-site mobility: Lightweight carts roll right into tight bathrooms or condo units.
- Staging flexibility: Van or trailer chest can stay optimized and dry; only selected gear rides on the cart.
- Scalable: Easy to grow (add another cart for bigger commercial jobs).
Weak Points for Tile
- Double-handling risk: Poor planning means you load the cart, arrive at the unit, then walk back for forgot items.
- Inconsistent layouts: If every cart is different, cross-coverage between installers slows.
Making Hybrid Work
- Standardize cart layouts: top tray for layout, middle for setting tools, bottom for wet/cleanup.
- Use the van chest as your inventory and the cart as your production line.
- Keep tile cutter organization split: small snap cutter rides on the cart, long rail cutters stay staged in the van unless the job clearly needs them.
This is often the best setup for urban work with long distances between parking and work area.
Setup Blueprint: Fast 5S for Tile Tool Storage
No chest will save you time if the internals are chaos. A simple 5S approach tailored to tile pays off within the first week.
1. Decide Wet vs Dry Zones First
- Wet zone: saw accessories, pumps, trays, wet vac hoses, wash buckets.
- Grout/finish zone: floats, sponges, microfiber, sealers (kept pristine).
- Dry zone: layout, measuring, hand tools, abrasives, fasteners.
Physically separate these zones by drawer or box. Never mix grout and raw thinset tools in the same compartment.
2. Anchor Your 10-Second Tools
From your primary working position (at the wall or saw), these tools should be in hand within 10 seconds:
- Primary trowels
- Margin trowel
- Spacers and wedges
- Tape, pencil/marker
- Utility knife
Organize drawers so that these live in the upper half of the chest or top boxes. Anything you use once a day goes lower.
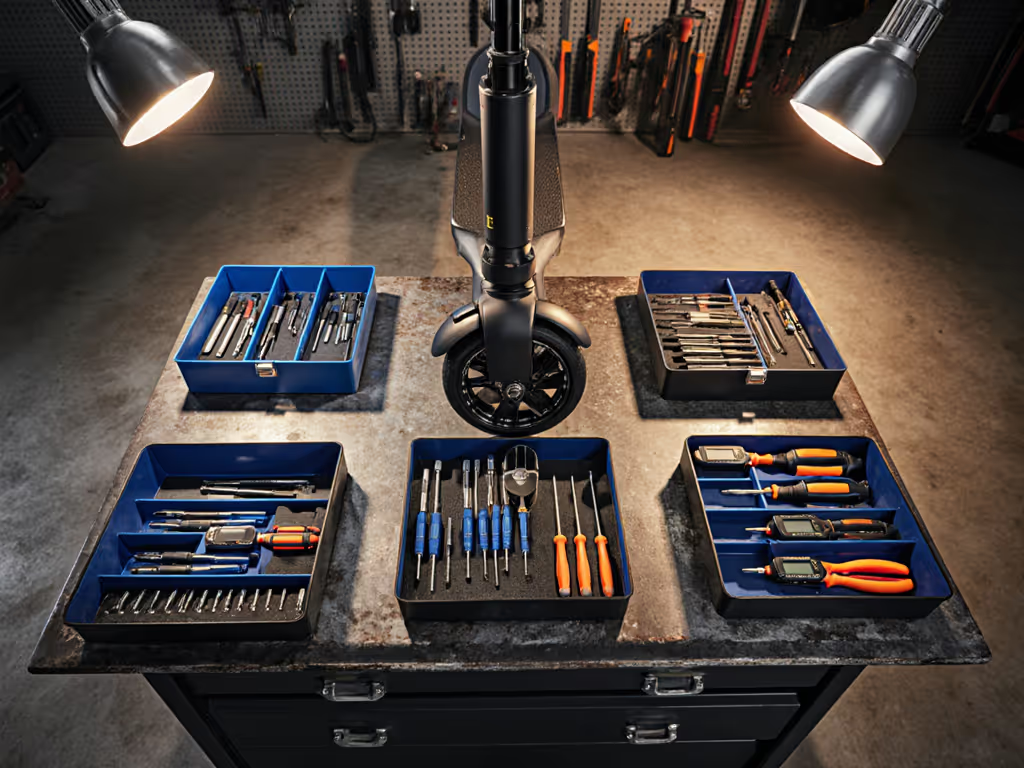
3. Use Simple, Serviceable Dividers
For tile, I favor:
- Rigid plastic or metal dividers for heavy items (trowels, cutters)
- Small removable bins for spacers, wedges, clips
- Foam only for mission-critical or fragile items (lasers, precision squares)
Foam is a pain to redo every time you change tools. Reserve it for what truly justifies the effort.
4. Label for Abuse
Use labels that survive:
- Slurry splashes
- Cleaners
- Glove friction
Paint markers on metal drawers and engraved or embossed plastic tags on boxes last longer than cheap stickers.
Summary and Final Verdict: Matching Chests to Tile Work
For tile work, storage is a production tool, not furniture. Here is how I'd call it:
-
Mostly residential, 1–2 installer crews, lots of stairs and apartments:
Go modular rolling jobsite systems. Build a dedicated wet saw box, a grout/cleanup box, and a layout/hand-tool box. Spend extra on the rolling base and casters; that is your weakest link. -
Shop-based or trailer-based crews, mixed residential and commercial:
Invest in a heavy-duty steel mobile chest as your master inventory and layout hub. Use it to standardize professional tile setter organization across the team. Pair it with light carts for inside-the-unit work. -
Urban work with long van-to-unit pushes, crew of 3–6:
Run a hybrid van + tile cart system. Keep the van chest immaculate and dry, and design carts as lean production cells (only what is needed for that day's tasks).
My bias is toward overbuilt hardware: strong latches, big casters, and slides that do not flinch when loaded with wet gear. To understand slide quality differences, see our drawer mechanism comparison. If you remember anything from this tile installer tool chest comparison, let it be this: the right chest is the one that stays quiet and predictable after miles of tile dust, water, and vibration.
If it rattles, it's stealing seconds from you (and on a real tile schedule, those seconds add up to blown timelines and tired crews).
Related Articles